
DIY and decorating got quite a lot of love during lock-down and there seems to be no lack of enthusiasm for it since as home-owners take control of their interiors and renters realize it’s nothing to be scared of.
Decorating is actually a surprisingly simple and inexpensive way to upgrade your home, change your environment or fall back in love with it and increase the value of your property too, if that’s your motivation.
During our very popular one-day DIY Prep & Paint workshop, you will hear us talk a lot about how the prep is just as important, perhaps even more so, than the paint.
The preparation of walls and wood is an essential part of decorating because it sets the foundation for a successful and long-lasting finish. Proper preparation ensures that the paint or other decorating materials adhere properly to the surface and provides a smooth and uniform finish.
It’s not always the most exciting aspect of a decoration job and it is the most laborious, but proper preparation IS the part that will reap the highest rewards and make the application of paint, or wallpaper so much easier.
Here are a few reasons why preparation is so critical
Surface imperfections:
Unprepared walls and wood surfaces may have cracks, dents, or holes that can affect the final appearance of the decoration. These flaws can cause the decoration to peel or crack over time. They will also show more when they catch the light as they cause shadows to magnify the faults.
Adhesion:
Proper preparation helps ensure that the decoration adheres well to the surface. Without good adhesion, the decoration can flake, peel, or bubble over time, leading to a patchy and unattractive finish.
Absorption:
Different surfaces absorb paint and other decoration materials differently. Preparing the surface ensures that the decoration is absorbed evenly and uniformly, creating a professional finish.
Time and Money:
Proper preparation can save time and money by preventing the need to redo the decoration because of poor adhesion or other issues. A well-prepared surface makes the final painting stage so much easier and quicker.
Proper preparation of walls and wood surfaces is crucial for achieving a high-quality and long-lasting decoration – it’s the difference between an amateur and a professional finish. Therefore taking the time to prepare the surface correctly will ensure that your decoration looks great and remains beautiful for years to come.
How to prepare your walls for paint
Make space:
Ideally, clear the room of any furniture, decorations, and fixtures from the walls and cover the floor with taped down newspaper to protect it from paint splatters. If you can’t empty the room, remove small stuff and stack big stuff under a polythene sheet; making sure you can access the ceiling light fixture if the room has one and you are going to paint the ceiling. Give yourself space to work, you will be grateful later.
Clean the walls:
Use a mild detergent or sugar soap and warm water to clean the walls of dirt, grime, and grease. Rinse with clean water and let dry completely.
Repair any damage:
Fill any holes or cracks in the wall with spackle or joint compound. Sand the area smooth once it’s dry. This small but essential job is ridiculously satisfying, especially when you stand back and admire a beautiful smooth painted wall later.
Sand the walls:
Lightly sand the walls with a fine-grit sandpaper to remove any bumps, unevenness, or glossiness on the surface. Wear a mask and goggles for this, the plaster dust gets everywhere (and shut the door to save the rest of your house). There are sanding pads you can attach to your vacuum cleaner to avoid this (the best is a brand called Mirka). Wipe the walls clean with a damp cloth or a ‘tack’ cloth after sanding.
Prime the walls:
Apply a coat of primer to the walls to create a uniform surface for the paint to adhere to. Let the primer dry completely before painting. You can save money by applying a watered down paint layer -known as a ‘mist coat’ instead of purchased primer.
Tape and cover:
Use painter’s tape to protect any areas you don’t want to paint, such as baseboards, door frames, and windows. Cover light switches, electrical outlets, and fixtures with plastic or tape to protect them from paint splatters. Remember that masking tape will not create a crisp line or be as removable as Painter’s tape. We love ‘Frog tape’ and it is a lovely green.
Paint the walls:
Once the walls are properly prepared, you can start painting. First, paint the edges around ceilings, skirting boards, doors and windows by ‘cutting in’ with a 2 inch brush. Apply paint to the walls with a roller, starting from the top of the wall and working your way down. Use a pole to make the work far easier and invest in a study tray which won’t move or spill. Allow the paint to dry completely before applying a second coat, if necessary (hint: usually always necessary).
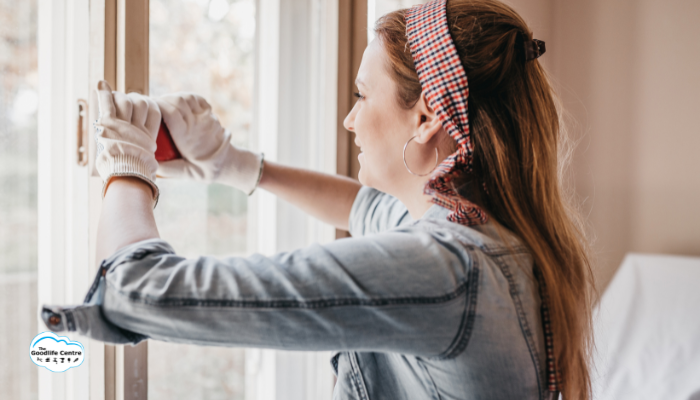
Painting doors and window frames
To really ensure your room looks professionally finished you will also give your door frames and windows a fresh lick of paint. But before you get gung-ho… yes, preparation of these surfaces are also really important for the best possible finish. Ideally get the prep of these done BEFORE you start painting your walls to avoid any mishaps.
Clean the surface:
Wipe down the door frames and windows with a mild detergent and warm water to remove any dirt, grime, or grease. Rinse with clean water and let dry completely.
Sand the surface:
Lightly sand the door frames and windows with a fine-grit sandpaper to remove any bumps, unevenness, or glossiness on the surface. Wipe the surface clean with a damp cloth after sanding.
Fill any holes or cracks:
Fill any holes or cracks in the door frames or windows with spackle or joint compound. Sand the area smooth once it’s dry (mask and goggles recommended).
Prime the surface:
Apply a coat of primer to the door frames and windows to create a uniform surface for the paint to adhere to. Let the primer dry completely before painting.
Tape and cover:
Use painter’s tape to protect any areas you don’t want to paint, such as glass or hardware. Cover the surrounding area with plastic or drop cloths to protect it from paint splatters.
Paint the surface:
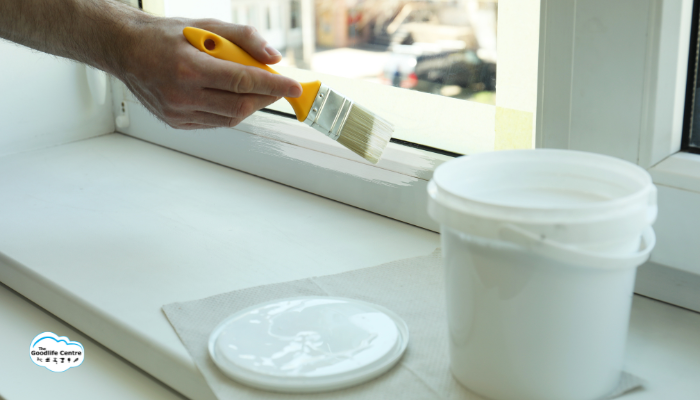
Once the door frames and windows are properly prepared, you can start painting. Apply paint with a brush or small roller, starting from the top of the surface and working your way down. Allow the paint to dry completely before applying a second coat. Don’t shut windows until the paint is completely dry or it will seal and split.
Wait until all walls and frames are really dry (not just touch dry), make a cuppa and then walk into the room and admire your work.
Next level tips
A word on equipment. Spending money on good equipment and materials will make you feel like a pro. They use sanding kits that attach to your vacuum, a lush top of range paint roller and pole, a sturdy paint tray and good quality paints. It’s faster and more enjoyable as a job- and you can justify it by remembering what a professional would charge.
Professional tip: Paint flecks in your hair are a nice touch to let everyone know you did everything yourself 😉
DIY Prep & Paint is a one-day or two-evening workshop that runs regularly, but sells out quickly. Find more details and book here.